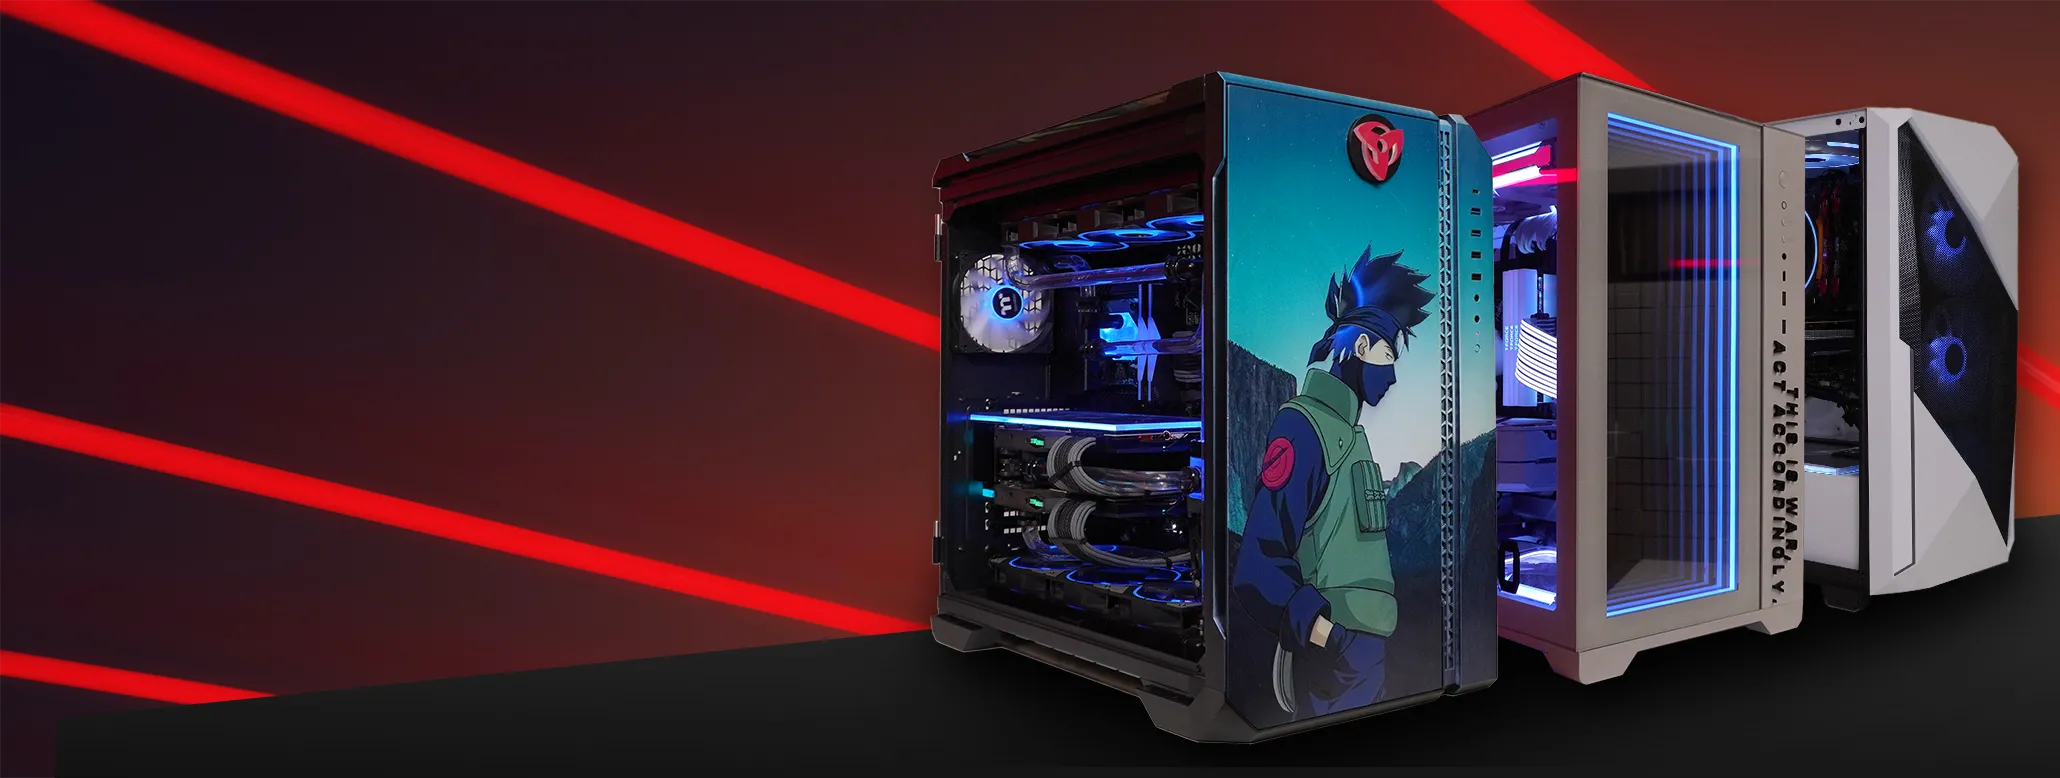
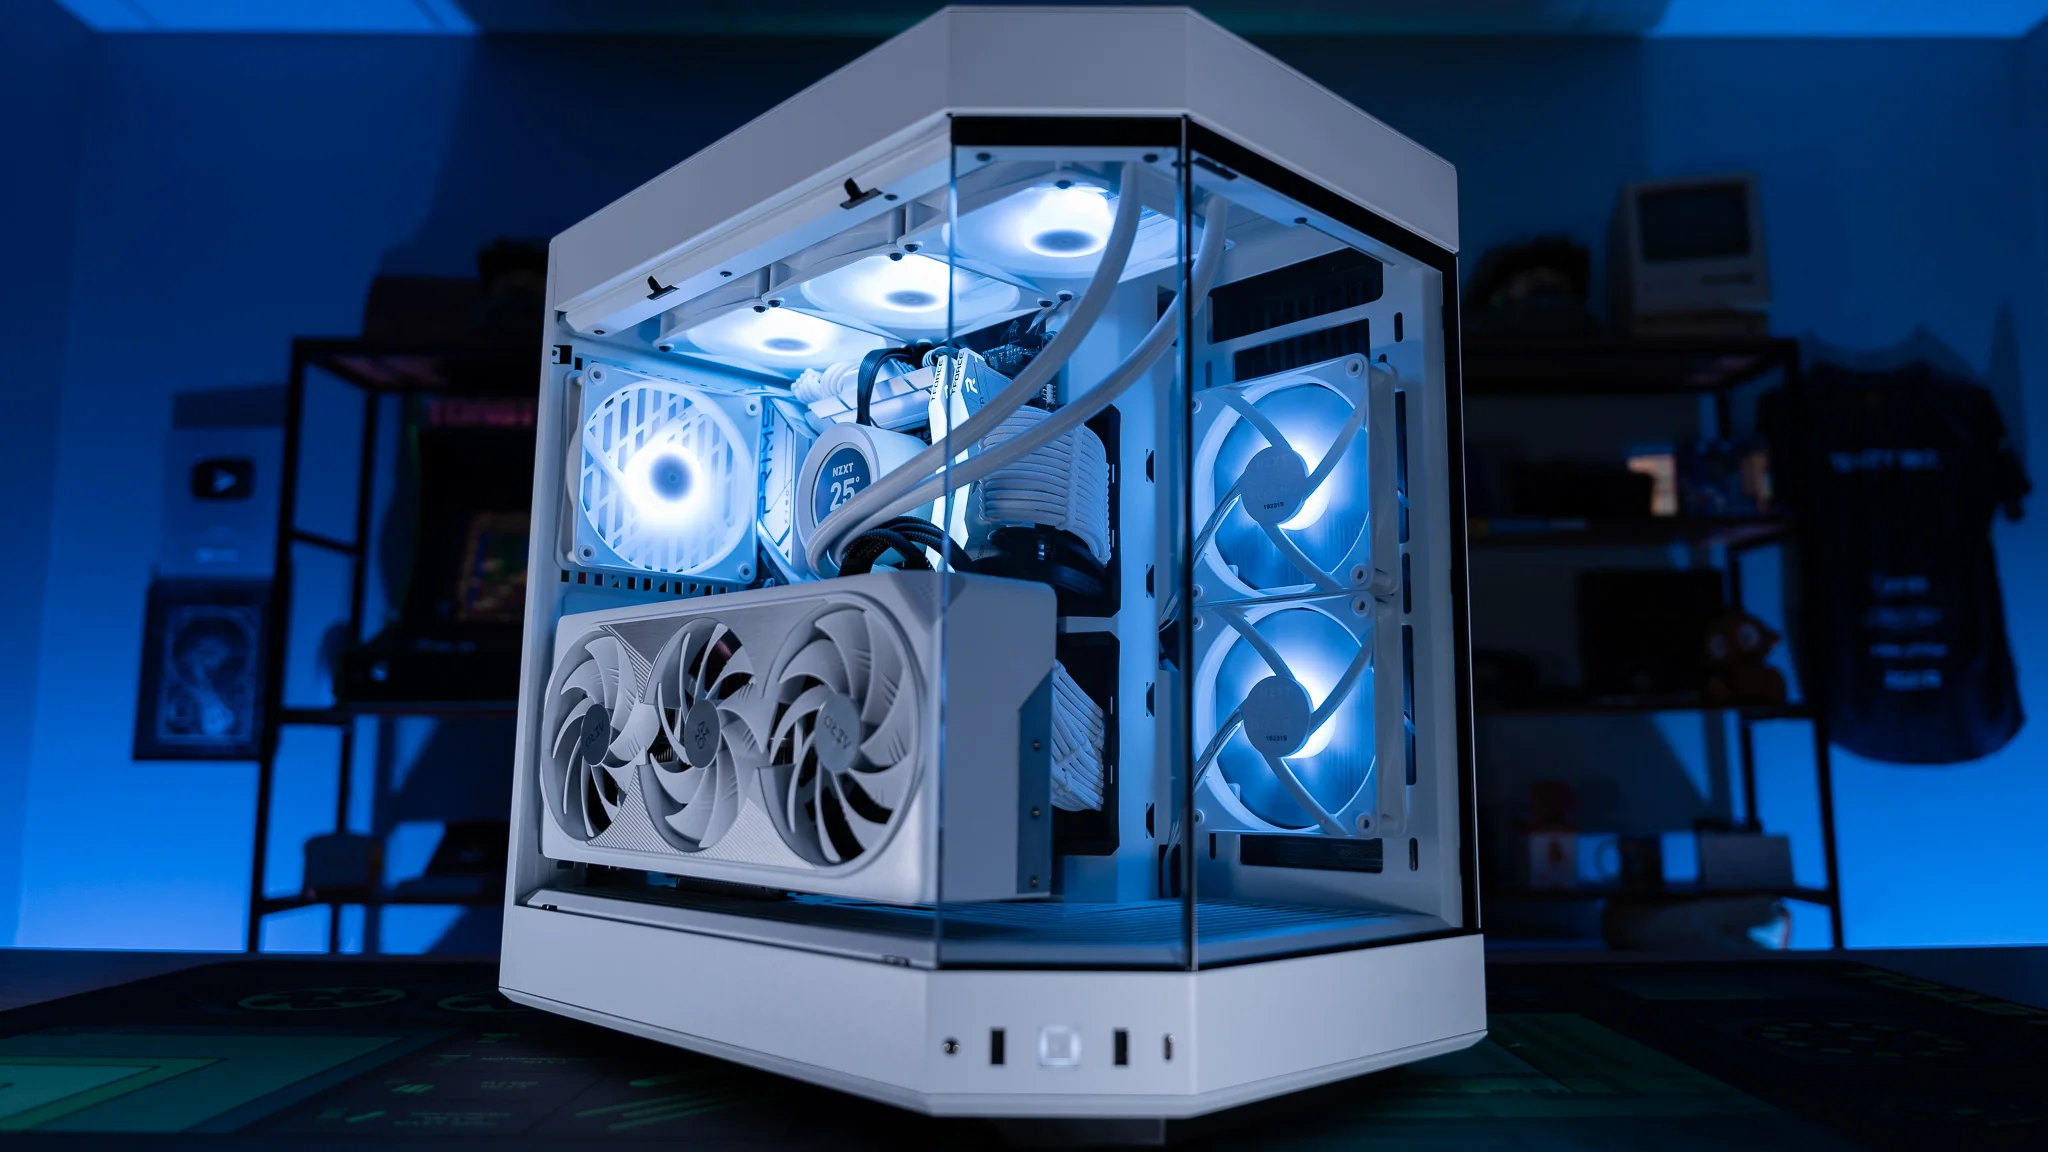
Building a custom PC might seem daunting at first, but it’s one of the most rewarding tech projects you can undertake. Whether you’re a gaming enthusiast seeking maximum performance, a content creator needing specialized capabilities, or simply someone who wants to understand their computer inside and out, assembling your own PC offers unparalleled benefits.
The process of building a custom PC has become significantly more accessible in recent years. Modern components are designed with user-friendly installation in mind, and compatibility issues that once plagued builders are largely a thing of the past. You’ll gain complete control over every aspect of your system’s performance, from processing power to storage speed, while often saving money compared to pre-built alternatives.
Beyond the financial advantages, custom PC building provides invaluable technical knowledge. You’ll understand exactly how each component functions and interacts with others, making future upgrades and troubleshooting much simpler. This hands-on experience demystifies computer hardware and transforms you from a passive user into an informed enthusiast.
The satisfaction of powering on a system you’ve built yourself is unmatched. Every component has been carefully selected to meet your specific needs, whether that’s achieving ultra-high frame rates in games, rendering video content efficiently, or simply creating a quiet, efficient workstation. With proper planning and patience, your first build can be completed in a single afternoon, resulting in a machine perfectly tailored to your requirements and budget.
Essential Tools and Workspace Preparation
Before component installation, proper preparation ensures a smooth building experience. You’ll need a Phillips #2 screwdriver for most connections, plus a Phillips #0 screwdriver specifically for M.2 SSD installation. Magnetic screwdrivers are highly recommended as they prevent screws from dropping inside the case.
Create an organized workspace on a large, stable surface away from carpeted areas to minimize static electricity risks. An anti-static wrist strap provides additional protection for sensitive components, though it’s not strictly necessary. Gather small containers or magnetic trays to organize screws and small parts from different components.

Ensure adequate lighting with multiple sources, including a movable light like a flashlight or desk lamp for illuminating case interiors. Have zip ties ready for cable management, though twist ties from component packaging work as alternatives.
Core Components Overview
Every custom PC requires eight essential components: CPU, motherboard, RAM, storage (SSD/HDD), graphics card, power supply, case, and CPU cooler. Optional additions include extra case fans, RGB lighting, and expansion cards for specific needs.
Budget Planning: Establish a clear budget before selecting components, as prices can escalate quickly. You can always upgrade individual parts later.
Compatibility Checking: Create a complete parts list and verify compatibility between all components before purchasing. Pay special attention to CPU socket types, RAM compatibility, and power supply wattage requirements.
Step-by-Step Assembly Process
Motherboard Preparation: Start by installing the I/O shield in your case’s rear opening. Remove the motherboard from its anti-static bag and place it on the box for initial component installation.
CPU Installation: Locate the CPU socket and remove its protective cover. CPUs have alignment markers that must match the socket – never force installation. The CPU should drop in easily when properly aligned.
Memory Installation: Install RAM in the correct slots according to your motherboard manual. For dual-channel setups, use alternating slots rather than adjacent ones. You’ll hear a definitive click when modules are properly seated.
Storage Setup: Install M.2 SSDs directly onto the motherboard before case installation. Traditional SATA drives mount in the case’s drive bays and connect via SATA cables.
Case Assembly: Install motherboard standoffs if not pre-installed, then carefully lower the motherboard onto them, ensuring all holes align. Secure with screws, then install the power supply in its designated bay.
Final Connections: Install the graphics card in the primary PCIe x16 slot, connect all power cables from the PSU to components, and attach case fans and front panel connectors. Perform a final check of all connections before powering on.


