Smart lighting is one of the easiest and most rewarding upgrades you can make to your home. It not only adds convenience and comfort but can also help save energy and set the mood for every activity.
Whether you’re looking to control lights with your voice, automate schedules, or adjust brightness from your phone, creating a smart lighting system is more accessible than ever.
This guide walks you through everything you need to know—from the basics to full-room setups—so you can build a lighting system that works for your lifestyle.
What Is Smart Lighting?
Smart lighting refers to a system of light bulbs, switches, plugs, and hubs that can be controlled remotely—via smartphone apps, voice assistants like Alexa or Google Assistant, or even automation based on time of day or your presence at home.
Key Features:
-
Turn lights on/off from your phone or with voice commands
-
Dim or change color temperature
-
Set schedules or routines (e.g., lights on at sunset)
-
Control lights remotely when you’re away
-
Create mood scenes (e.g., “Movie Night” or “Morning Wake-Up”)
Step 1: Choose the Right Type of Smart Lighting
There are three main approaches to building a smart lighting system:
1. Smart Bulbs
These replace your regular bulbs and connect via Wi-Fi, Bluetooth, or a hub like Zigbee or Z-Wave. They’re ideal for renters or anyone who wants minimal installation.
-
Popular Brands: Philips Hue, LIFX, Sengled, Wyze
-
Pros: Easy to install, no wiring required, often color-capable
-
Cons: Needs one per fixture; expensive for large setups
2. Smart Switches and Dimmers
These replace wall switches and control any standard bulbs connected to them. Ideal for homeowners or those who prefer a “traditional” look but want smart functionality.
-
Popular Brands: Lutron Caseta, TP-Link Kasa, Leviton
-
Pros: Control multiple lights with one switch; doesn’t rely on smart bulbs
-
Cons: Requires wiring; may need a neutral wire
3. Smart Plugs and Lamps
You can also use smart plugs to control lamps or other light fixtures without changing bulbs or switches.
-
Pros: No installation; versatile
-
Cons: Limited to plug-in lights
Step 2: Select a Smart Home Ecosystem
To streamline your smart lighting system, choose a smart assistant or platform. Most smart lighting brands work with all major ecosystems, but picking one helps everything work together more smoothly.
Main Options:
-
Amazon Alexa: Great for voice control and wide compatibility
-
Google Assistant: Strong app integration and routines
-
Apple HomeKit (Siri): Ideal for Apple users with privacy focus
-
Samsung SmartThings: Strong for advanced automation and multi-device setups
Once you decide, ensure your smart bulbs, switches, and accessories are compatible with your chosen platform.
Step 3: Plan Your Lighting Zones
Think of your home in terms of lighting zones or scenes. This makes it easier to automate and control your lights effectively.
Common Zones or Use Cases:
-
Living Room: Dimming for movie nights, bright lighting for cleaning
-
Bedroom: Gentle warm lights in the morning, dim lights at night
-
Kitchen: Task lighting while cooking, overheads for entertaining
-
Outdoor: Motion-activated porch lights, garden mood lighting
-
Hallways: Nightlights or motion-triggered safety lighting
You can create automation routines like “Good Morning,” “Dinner Time,” or “Away Mode” that control multiple zones with one command.
Step 4: Install Your Smart Lighting
For Smart Bulbs:
-
Screw in the smart bulb like any regular bulb.
-
Use the app to connect it to Wi-Fi or your hub.
-
Assign the bulb to a room or group.
-
Link to your voice assistant if needed.
For Smart Switches:
-
Turn off power at the circuit breaker.
-
Remove your old switch and install the new one (note: some may require a neutral wire).
-
Connect using the manufacturer’s app.
-
Customize behavior and link to routines.

Tip: Label your switches and keep instructions handy—especially if you’re mixing bulbs and switches in your setup.
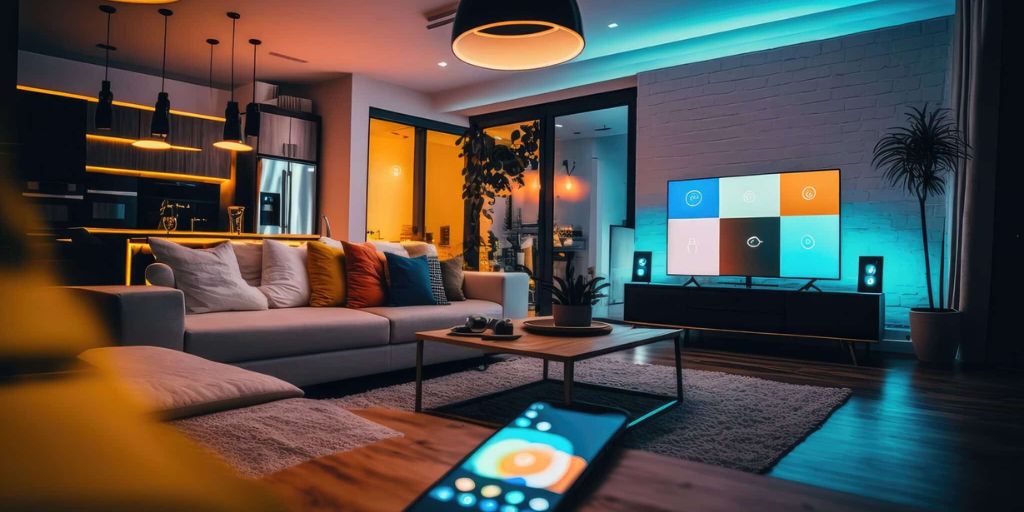
Step 5: Automate and Customize
Once everything is connected, the real magic begins. You can create routines, triggers, and schedules to make your lighting intuitive and energy-efficient.
 How to Create a Smart Lighting System at Home
Examples of Smart Automation:
-
Sunset-to-Sunrise Mode: Lights turn on at dusk and off at dawn.
-
Motion Detection: Lights in the hallway or bathroom turn on when someone enters.
-
Vacation Mode: Random on/off patterns mimic your presence when you’re away.
-
Wake-Up Routines: Gradual brightening mimics sunrise to help you wake naturally.
Use your smart assistant app or third-party platforms like IFTTT to create custom triggers.
Step 6: Maintain and Optimize
To keep your system running smoothly:
-
Keep firmware and apps updated for security and new features.
-
Name your devices clearly in the app (“Living Room Lamp” vs. “Lamp 3”).
-
Use scenes wisely—too many can make the system cluttered.
-
Test internet and Wi-Fi strength in rooms where lights may be far from the router.
-
Add smart buttons or remotes for guests or those not comfortable with voice control.
Bonus: Add Color and Ambience
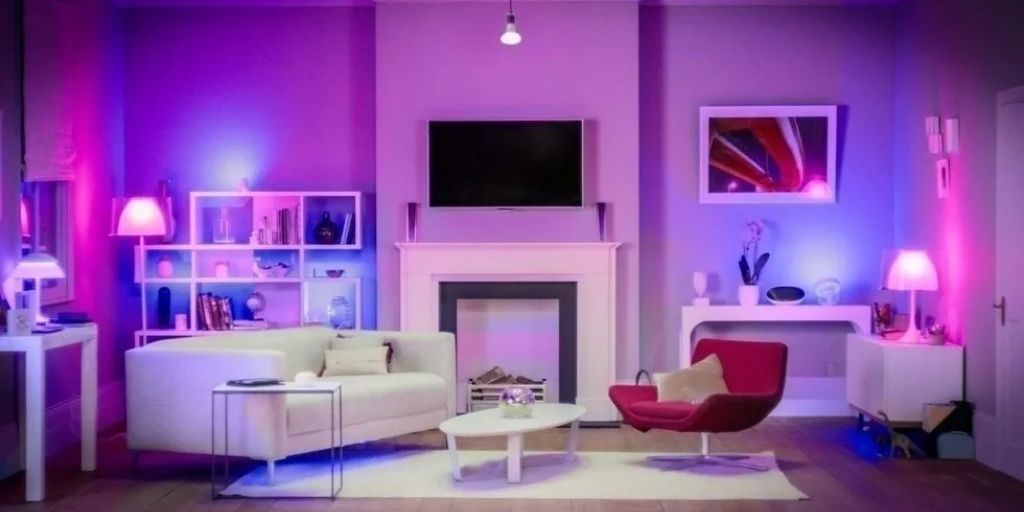
Many smart bulbs offer full RGB color, letting you change hues for holidays, parties, or mood lighting. For example:
-
Blue tones for a relaxing evening
-
Warm amber for dinner
-
Red or green for festive holidays
Philips Hue and LIFX are known for excellent color range and effects like flickering candles or syncing to music or movies.
Cost Considerations
Smart lighting can range from affordable to high-end depending on what you choose:
| Component | Price Range |
|---|---|
| Smart Bulbs | $10–$50 each |
| Smart Switches | $20–$60 each |
| Smart Plugs | $10–$30 |
| Starter Kits (bulbs + hub) | $50–$200 |
Start small—perhaps a room or two—and expand as your needs grow.
Final Thoughts
Creating a smart lighting system at home is one of the most user-friendly ways to modernize your space. Whether you’re looking for convenience, energy efficiency, or just the cool factor of voice-controlled lights, you can customize your setup to match your home and budget.
Start with a few bulbs or switches, connect them to your favorite assistant, and before long, you’ll be enjoying a home that lights up exactly how—and when—you want it to.